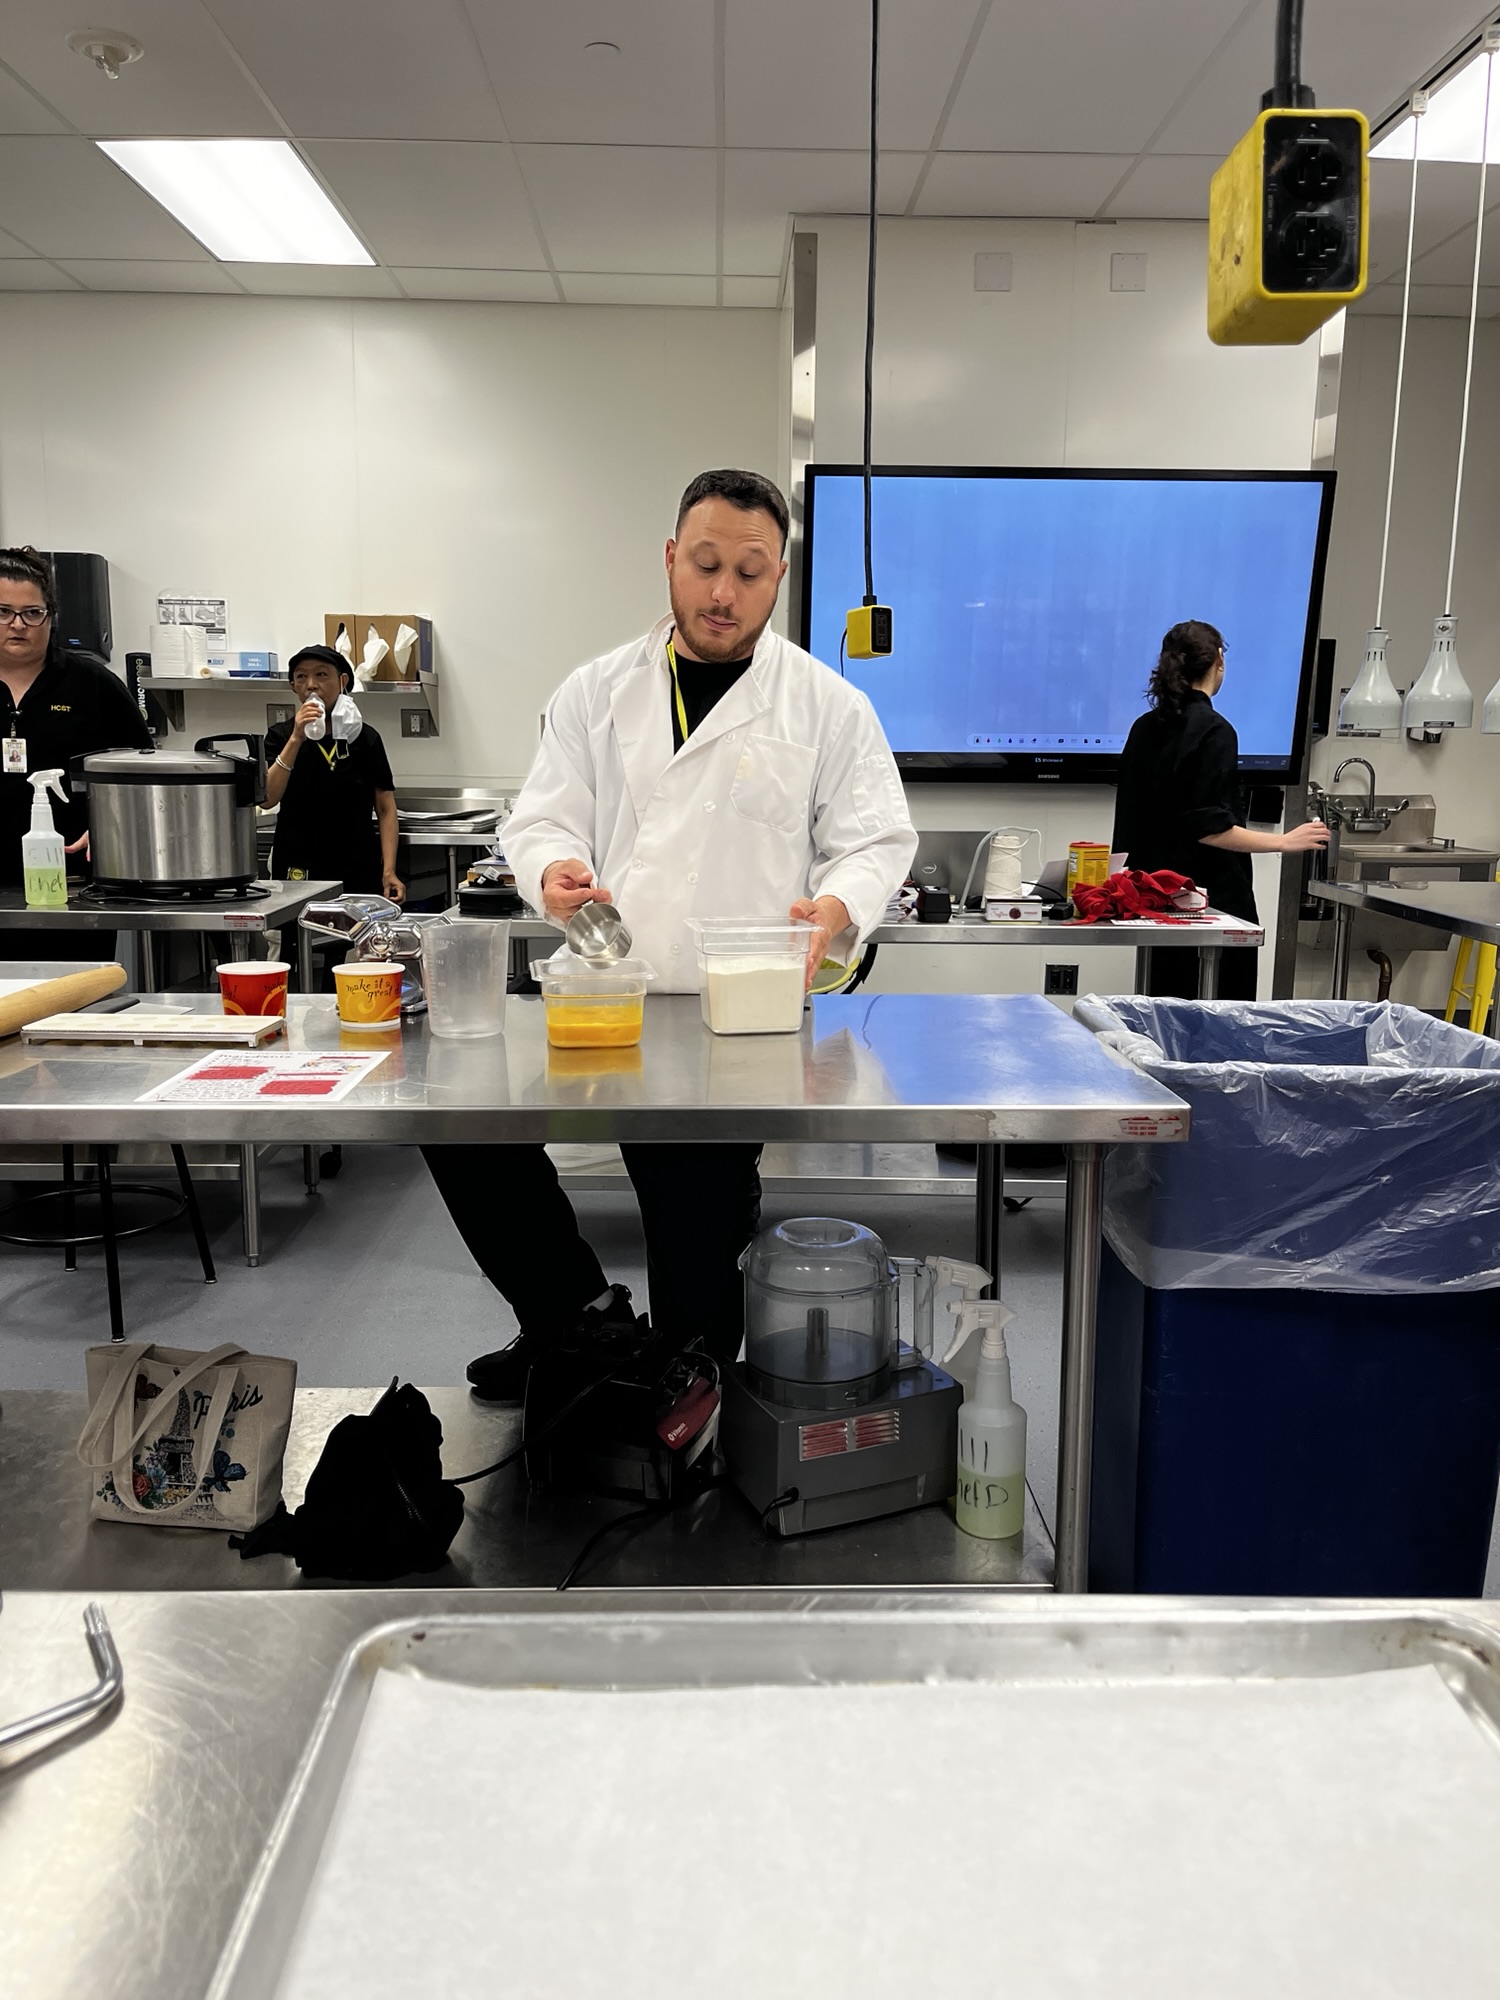
Recently, I discovered the Hudson County School of Technology Community Cooking Classes. There are not too many classes to choose from: Pasta, Pizza, Mexican, Brunch, Sushi + Steak Night seem to be mostly rotated throughout the weeks. There may be a few more, but for the most part, this is it.
I took the pasta class and I learned a lot, but also have a few critiques of my experience. But for now, let’s just get right into the review / breakdown of my cooking class. (Recipe we used at the end of this post!)
The Pros:
- I confidently know how to make pasta now (and it’s pretty damn good!)
- I did something out of my comfort zone by taking class alone. Everyone in this class was super friendly and seemed to be regulars.
- This was my first ever cooking class, so crossed this off my bucket list
- I learned two ways to make pasta (using a mixer and using hands)
- For $35 I walked away with a full stomach, a take home cannoli for dessert, salad, and a ton of pasta to go which I shared with my family.
The Cons:
- Class did not quite match the description, it said we would be making pasta and basic sauces but we made no sauces, just pasta.
- We did not get to cook the pasta ourselves (not that big a deal)
- Chef came in and took over kneading our dough when we asked if it was dry (isn’t that what we paid to do, knead the dough? I wasn’t a huge fan of this)
- The sauces were made by high school culinary students I believe, and I didn’t really love them.
Overall, for the cost of $35 for most classes + $50 for sushi + steak night – I would definitely say this was worth it because I can and have confidently made pasta because of this class.
We were split into groups and given a demonstration which we followed after. We made ravioli, shrimp ravioli and fettuccine. The sauces we had were cream sauce, bolognese and mushroom truffle sauce.
And as for our pasta, here’s how you make it!
- 8 eggs
- 5 cups 00 flour
- A pinch of salt
- A little bit of water (if the dough is too dry)
- Place the flour on a clean work surface and make a nest. Add the eggs and salt to the center and use a fork to gently break up the eggs, keeping the flour walls intact as best as you can. Use your hands to gently bring the flour inward to incorporate. Continue working the dough with your hands to bring it together into a shaggy ball.
- Knead the dough for 8 to 10 minutes. At the beginning, the dough should feel pretty dry, but stick with it! It might not feel like it’s going to come together, but after 8-10 minutes of kneading, it should become cohesive and smooth. If the dough still seems too dry, sprinkle a tiny bit of water to incorporate. If it’s too sticky, dust more flour onto your work surface. Shape the dough into a ball, wrap in plastic wrap, and let rest at room temperature for 30 minutes.
- Dust 2 large baking sheets with flour and set aside.
- Slice the dough into four pieces. Gently flatten one into an oval disk. Run the dough through the Pasta Roller Attachment or a pasta maker two times on level 1 (the widest setting).
- Run the dough through the pasta roller two times on level 2 and one time each on levels 4, 5, and 6 (the thinnest is probably 6 or 7).
- Lay half of the pasta sheet onto the floured baking sheet and sprinkle with flour before folding the other half on top. Sprinkle more flour on top of the second half. Every side should be floured so that your final pasta noodles won’t stick together.
- Repeat with remaining dough.
- Run the pasta sheets through the Pasta Cutter Attachment. Repeat with remaining dough. Cook the pasta in a pot of salted boiling water for 1 to 2 minutes.


Leave a Reply